Create and use a SplashID Pro 9 account
Getting ready
Before you start to sign up please have the following two pieces of information handy.
- The email address you want to use for your account.
- A strong master password for your account.
You should use a combination of lowercase and uppercase characters, numbers and some special characters (!, @, #, $, %, ^, &, *,... etc.) for your master password, and it should be long enough to make it all the more secure.
We recommend that you have a master password that is 12 or more characters long, and that you do not use common words, names, dates or other known pieces of information about yourself.
SplashID Pro 9 security is designed in such a way that your account can be accessed only with a master password. To keep your account secure ensure that no one else knows it. Only you should know this critical piece of information.
This also means that we do not have any mechanism to reset your password if you forget it.
We cannot reset your master password
We do not have any mechanism to reset your password in case you forget it.
Please set up a password hint, and download a recovery kit after you sign up for your account. These are two ways by which you can ensure that you do not lose access to your account.
Account sign up
You can sign up for a SplashID account in a desktop, tablet or mobile application that you have downloaded and installed on your device from the application store for your device.
Alert
Account sign up is not possible in the web application.
The steps to create a SplashID Pro 9 account are:
- Install SplashID Pro 9 from the application store on your phone, tablet, laptop or desktop.
- Launch the installed SplashID Pro 9 app and accept any permissions that the device asks for. Not accepting any of the required permissions will likely cause some functions in the application to not perform as expected.
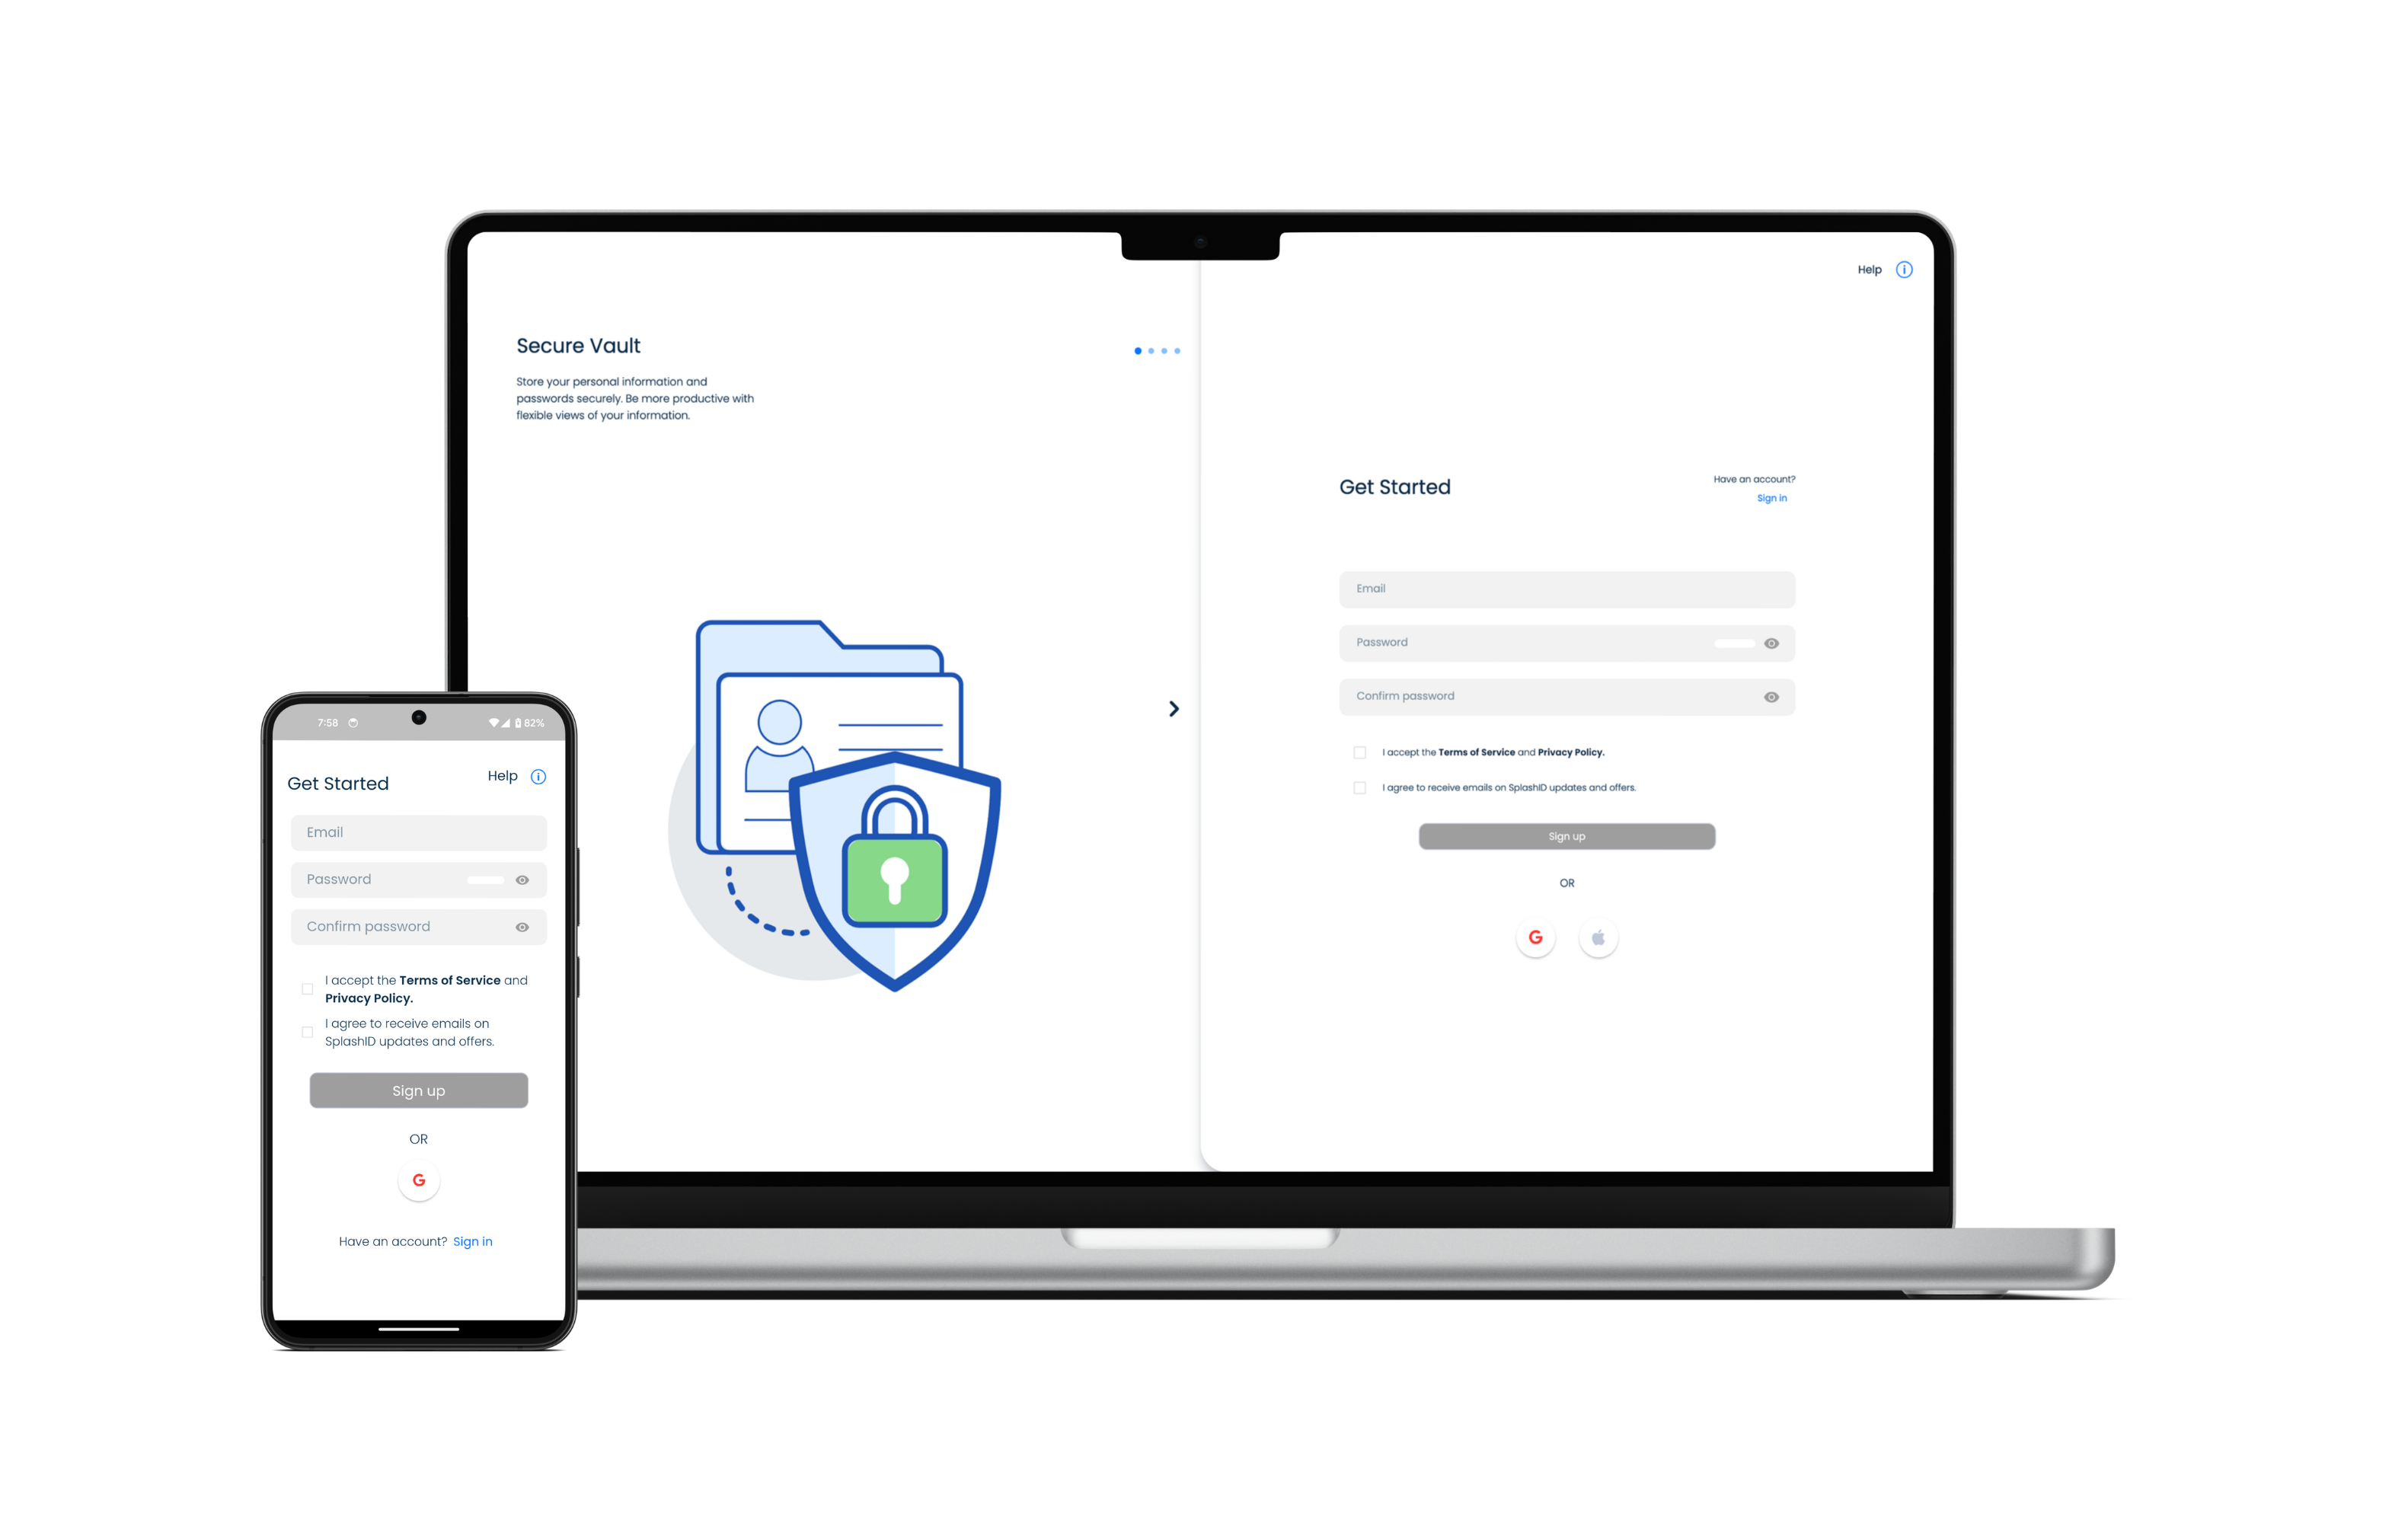
- Enter your email address, master password, confirm your master password, and accept the terms of our service. Click or tap on the Sign up button to start the account creation process.
- Once done, you will need to verify your email address by clicking on the verification button in the email you would have received.
- Next click on the Verify button in the application screen to complete the initial account creation.
- Proceed to complete the setup of your account with a chosen sync method, 2 factor method, user name and local pin. Finally generate a recovery kit and store it safely for later use.
Complete you initial account setup
In step 6 above, you will be presented with a series of initial setup screens. Follow through them to complete your account setup.
Choosing a sync method is mandatory. We also recommend you do the following.
- Setup a second factor authentication method for increased security of your account.
- Download the recovery kit and store the kit safely somewhere. If you forget your master password, the recovery kit contains a code that can be used by you to regain access to your account.
- We recommend using an authenticator application on your device for second factor setup.
Google account
You can sign up with your Google account on Android phones or tablets, iPhones, iPads and MacBooks. The email address used for your Google account will be used to identify your SplashID Pro 9 account.
Sign up with a Google account on Windows is not yet supported.
Link your Google account to your SplashID Pro 9 account
Alternatively, you can first sign up using your email and password initially as described above. Later, you can link your Google account sign in method in the Accounts section in the Settings screen.
Apple account
You can sign up with your Apple account on iPhones, iPads and MacBooks. The email address used for your Apple account will be used to identify your SplashID Pro 9 account.
Sign up with an Apple account on Android devices and Windows is not yet supported.
Link your Apple account to your SplashID Pro 9 account
Alternatively, you can first sign up using your email and password initially as described above. Later, you can link your Apple account sign in method in the Accounts section in the Settings screen.
Restrictions with using private Apple account option
If you choose to opt for not disclosing your Apple account email address during the sign up flow, then you will not be able to link a sign in method that uses your email address and password to this SplashID Pro 9 account of yours.
Sign in
Once you have completed creating your account, you can sign in to it for regular usage from any device you have installed SplashID Pro 9 on.

The steps to sign in to a SplashID Pro 9 account are:
-
Based on how you set up your account, choose one of the following options.
-
Email with master password
- Google sign in
- Apple sign in on supported devices
If you had previously signed in, then the account will be pre-selected for you. To change the account you want to use, click or tap on the Change user link.
- If you had setup second factor authentication, you will be prompted to enter a code. Open your authenticator application, email inbox or SMS inbox to get the code.
Enter the code and complete the sign in.
Password hint
A password hint can help you remember your master password, if you have set it.
Set a password hint
A password hint would have been optionally set by you when you had completed your account setup after signing up for it. In case you had not set your password hint or you want to change the password hint, then you can do so by following the steps below.
- Go to the Settings screen by clicking or tapping on the Settings entry in the application menu.
- Click or tap on the Account tab.
- In the Linked accounts section, click or tap on the Change button in the Password hint row to set a password hint.
Get a password hint
You can request for the password hint you had set before, to be sent by email to your inbox. This is useful if you need any help to remember your master password.
- On the Sign in screen click or tap on the Forgot password? link below the Master password entry box.
- Enter the email address of your SplashID Pro 9 account.
- Click or tap on the Send password hint button.
2 factor authentication
2 factor authentication provides a second level of authentication that will help you protect your account better from unauthorised access. It is strongly recommended that you use one of the 2 factor methods we provide.
Types of 2 factor methods
SplashID Pro 9 provides the following 2 factor methods.
- Recommended option - Authenticator OTP code generation
- Email OTP code
OTP delivery by SMS
SMS as a 2 factor method is no longer supported. Users who had previously setup 2 factor codes to be received by SMS can continue to use it till we take it off completely.
It is recommended that users change their 2 factor code generation using one of the options listed above.
Enable 2 factor
To setup 2 factor please do the following.
- Go to the Settings screen by clicking or tapping on the Settings entry in the application menu.
- Click or tap on the Security tab.
- In the Account section, click or tap on the Setup link.
- Select one of the 2 factor methods displayed. We recommend using an authenticator app on your phone to use the Authenticator App based 2 factor method. Refer to the section below for help on how to setup using an authenticator app.
- Follow the instructions on the screen to complete the 2 factor setup. After setting up, on the next login you will be asked for entering an OTP code after you provide your master password.
Using an Authenticator App
Please download and install one of the following popular authenticator apps from the App Store or Play Store on your phone. You can use any other authenticator app too; just make sure that it is installed from the App Store or Play Store, and is known to not have any security issues.
- Google Authenticator
- Microsoft Authenticator
- Authy
These apps have their own help guides to assist you in setting up OTP records. Please refer to their documentation if you have problems in setting up OTP records.
In a nutshell, after installing one of these authenticator apps and setting it up on your phone, do the following.
- Start addition of a new entry.
- Use the in built QR code scanner and scan the QR code displayed inside SplashID Pro 9 while setting up the 2 factor method.
- Edit and change the name of the newly setup entry if desired.
- Open the entry and use the code generated to verify it in the SplashID Pro 9 screen.
You can also manually add the long key in step 2 above to setup the entry. This is error prone and you will need to double check the key you entered before you save the entry.
Disable 2 factor
To disable 2 factor please do the following.
- Go to the Settings screen by clicking or tapping on the Settings entry in the application menu.
- Click or tap on the Security tab.
- In the Account section, click or tap on the Disable link.
- Enter your master password and click or tap on the Confirm button to disbale the 2 factor setup.
Modify 2 factor
To modify the 2 factor method you need to first disable the previosuly set up method, and set it up again.
It is recommended that you logout from all other devices you use SplashID Pro 9 on, before you proceed to disable 2 factor from one of your device.
Recovery kit
It is possible that you might not remember your master password, and the password hint you had set before does not help you. If that happens, the only way to reset your master password is by using a recovery kit.
We strongly recommend that you download your recovery kit and store the kit safely somewhere. It is very important to keep this safely and securely. Anyone with access to this document can access your account and lock you out of it.
The personalised recovery kit is a PDF file that can be opened with any PDF viewer software like the free Adobe Acrobat reader. It contains a 32 character recovery code that can be used by you to regain access to your account and change your master password to a new one.
Use the latest generated recovery kit
Only the latest downloaded recovery kit will be valid. Any previously downloaded recovery kits can no longer be used.
Keep the latest recovery kit very safely, and discard the old recovery kits to prevent any confusion in the future.
Download kit
You can generate and download a new recovery kit on your device by following the steps given below. Please ensure that the device or desktop is connected to the internet.
- Launch and sign in to your SplashID Pro 9 account on your desktop, mobile or tablet.
- Go to the Settings screen by clicking or tapping on the Settings entry in the application menu.
- Click or tap on the Account tab.
- In the Recovery Kit section, click or tap on the Download Kit button to generate the recovery kit.
- Using the file explorer on your device navigate to the Downloads folder to get hold of your recovery kit.
- Open the recovery kit and verify that it has a code generated for your account.
- Copy the file somewhere very safe.
Recovery kit name
The downloaded file will be called
SplashID-Pro-9-Recovery-Kit-DATE-AND-TIME.pdf
Storing your kit
- Take a print of the recovery kit document.
- Write down some hints to help you remember your password. If you can remember your password with your hint then you wont need to use the recovery kit to regain access to your account.
- Keep it in a safe or locker. Only you, or people you trust should have access to this document.
- You might choose to store this document in a cloud drive if you are aware of the risks with it. In the event that your cloud drive account gets hacked, then you are at serious risk of this document getting into the wrong persons hands.
Recover account
To recover your account and change the master password, locate your recovery kit document and keep your personalised 32 character recovery code ready.
Then follow the steps listed below. Please ensure that the device or desktop is connected to the internet.
- Launch and sign in to your SplashID Pro 9 account on your desktop, mobile or tablet.
- On the Sign in screen click or tap on the Forgot password? link below the Master password entry box.
- Enter the email address of your SplashID Pro 9 account in the displayed form.
- Click or tap on Recover account. This will send a code to your email inbox for verification.
- Verify your email account by entering the code received in the email.
- Enter the recovery code from the recovery kit document in the application screen.
- Tap or click on Recover account to start the recovery process.
- Set a new master password and a password hint, and tap or click on Continue.
- [Optional] It is recommended to download a new Recovery kit once a recovery code has been used.
Unlock account
Your account will get locked if 10 successive failed sign in attempts across all devices. The account will remain locked for 60 minutes, and will automatically get unlocked after this time period.
If you want to unlock your account before the 60 minute time period expires, then you can also use your recovery kit to unlock your account.
Follow the steps below to unlock your account yourself.
- Launch and try to sign in to your SplashID Pro 9 account on your desktop, mobile or tablet.
- On the Sign in screen click or tap on the Unlock Account button displayed. You can also see the time left till the account gets unlocked automatically.
- Enter the email address of your SplashID Pro 9 account in the displayed form.
- Click or tap on Recover account. This will send a code to your email inbox for verification.
- Verify your email account by entering the code received in the email.
- Enter the recovery code from the recovery kit document in the application screen.
- Tap or click on Recover account to start the recovery process.
Unlocking an account
Unlocking an account makes use of the account recovery procedure.
You should set a new master password if you suspect that your master password was compromised.
Additionally, you should create a new recovery kit after you sign in to ensure that only you have a recovery code from that moment onwards.